
Rolling a joint isn’t just a skill—it’s a vibe. It’s the calm before the high, the ritual that sets the tone for the smoke session ahead. Whether you’re kicking back with friends or enjoying a solo sesh, learning how to roll properly is what separates the rookies from the seasoned smokers. If you’ve ever wondered how to make your joints burn smooth, taste great, and look clean, here’s the lowdown in simple, laid-back terms.
Step 1: Gather Your Gear
You can’t roll a good joint without the right tools. You’ll need:
- Your favorite strain of flower
- Rolling papers
- A filter or crutch
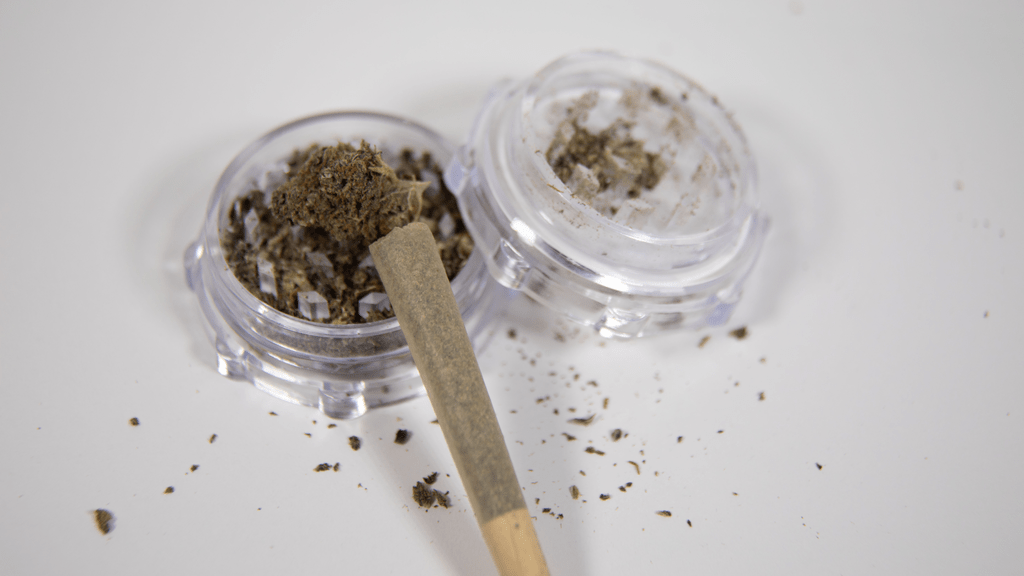
- A grinder (trust us—it makes a huge difference)
Grind your weed until it’s fluffy but not powdery. Too chunky, and your joint burns unevenly; too fine, and it’ll clog up. As for papers, go with hemp or rice papers if you can—brands like RAW, Zig-Zag, or Vibes are reliable options. Each burns differently, so find the one that suits your smoking style.
Step 2: Make the Filter (a.k.a. the Crutch)
The filter keeps things tidy and stops stray bits of flower from hitting your lips. You can buy pre-rolled filters or make one by folding a small piece of thick paper (like from a business card or the flap of your rolling paper pack). Roll it into a small cylinder and place it at one end of the paper—this will be your mouthpiece.
Step 3: Fill and Shape It Up
Sprinkle your ground cannabis evenly across the paper. Don’t pack too tight, but don’t leave gaps either. A gram is perfect for a standard joint, though you can always go bigger or smaller depending on the occasion. Once it’s spread out, use your fingers to gently roll and shape the weed into a tube.
Think of this step as the warm-up. You’re getting the feel for the roll, shaping the joint before it takes form. Take your time—rushing it usually means uneven burning later.
Step 4: The Roll and Seal
This is where the magic happens. Pinch the paper between your thumbs and fingers, and start rolling back and forth to pack the cannabis evenly. Once it feels snug, tuck the bottom edge of the paper over the weed and start rolling up toward the sticky edge.
Lick the adhesive gently (no need to drench it) and seal it with a smooth swipe. Twist the open end to lock everything in, and give the filter side a light tap on the table to settle the flower.
Step 5: Light Up and Enjoy the Moment
When it’s time to spark up, make sure the end is burning evenly. Rotate the joint as you light it for a clean start. Take your first puff slow—savor the flavor, the aroma, the moment.
One Last Tip: Practice Makes Perfect
Rolling a joint is part skill, part patience, and part personality. Nobody nails it on their first try, and that’s okay. Each roll teaches you something new—how tight is too tight, how loose is too loose, and what your perfect joint looks like.
So roll up a few, experiment with different papers and filters, and enjoy the process. After all, there’s something almost meditative about it—your hands, your herb, and your rhythm coming together for that perfect puff.
Light it up, kick back, and enjoy your creation. You earned it.